PrestaShop
Payment plugin
Type:
Payment plugin
Category:
Shop systems

Payment plugin
for
PrestaShop

With the plugin for PrestaShop, you can easily and, above all, seamlessly integrate the wallee portal and intelligent payment processing via many payment methods into your online shop. The modern payment forms are of course also optimised for mobile devices and integrated directly in your shop. The customer is not redirected to an extra payment page - and all this while fulfilling all security requirements (PCI SAQ-A). Now ready to go in just a few clicks.
PrestaShop
Payment plugin
Type:
Payment plugin
Category:
Shop systems


Large selection of payment methods
Use many local and global payment methods via wallee for your webshop, ERP, booking tool or on site. The configuration takes place conveniently via the wallee portal and is immediately live on all channels and in your check-out. Of course including all new technologies such as Apple Pay, Click to Pay or TWINT. Your customers will love it.
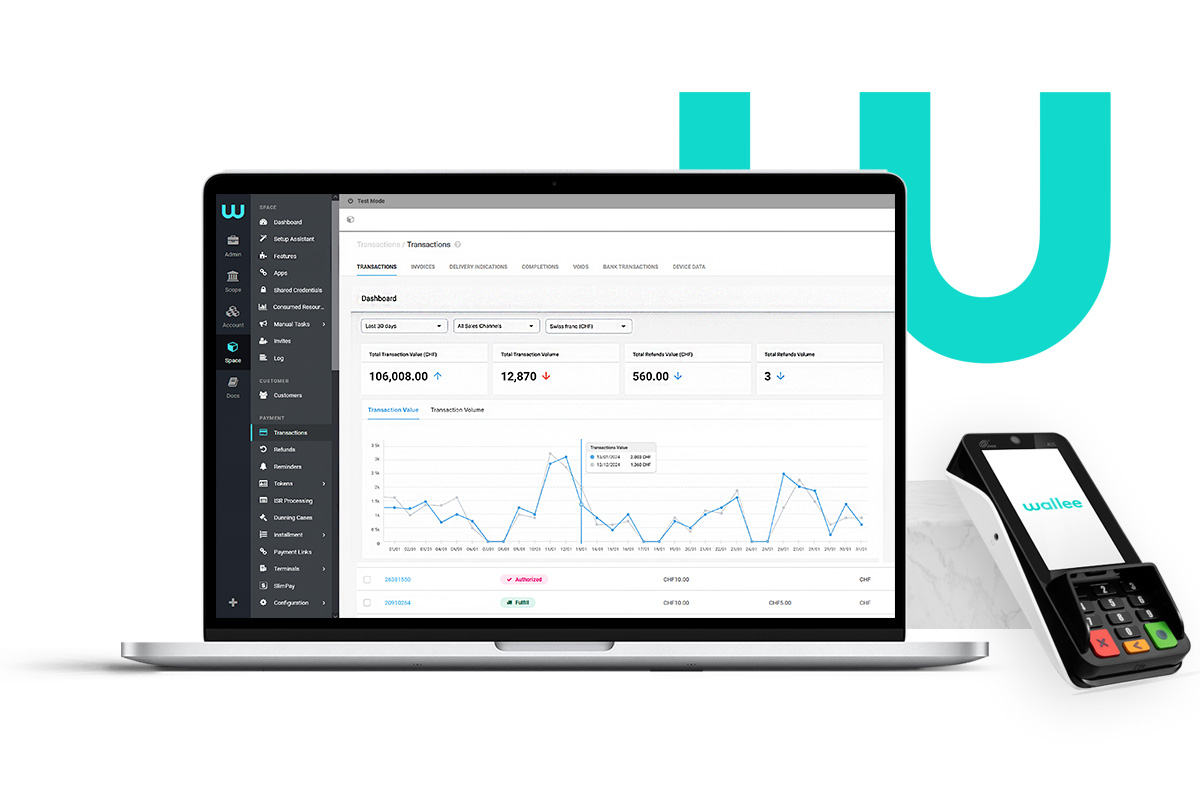
Access to the wallee portal
Screenshots


Selected functions
- Selection of the payment method in PrestaShop
- Payment method selection in the checkout
- Integrated payment form
- One-click payments
- Trigger refunds within PrestaShop
- Multiple refunds
- Trigger partial and full captures from PrestaShop
- Suspicious Transaction Process
- Automatic configuration
- Smart Routing
The wallee portal
The special thing about wallee is not only the simple integration of payment methods in your online shop or POS system. Numerous additional functions are automatically available to you via the wallee portal. As soon as you have installed and set up the plugin, you can use all the functions of the wallee portal.

Selected functions
- Selection of the payment method in PrestaShop
- Payment method selection in the checkout
- Integrated payment form
- One-click payments
- Trigger refunds within PrestaShop
- Multiple refunds
- Trigger partial and full captures from PrestaShop
- Suspicious Transaction Process
- Automatic configuration
- Smart Routing
Payment plugin
for
PrestaShop
Step by step setup
Setting up and connecting wallee is easy. Just follow these steps. You will find detailed information on all options in the documentation.
- Create a free wallee account ' Register now
- Download the PrestaShop Mailhook module. You can find this ' here on GitHub
- Download the wallee PrestaShop 1.7 main module. You can find the current version ' here on GitHub
- Now log into your PrestaShop account and navigate to "Modules and Services" > "Add New Module".
- Now select the previously downloaded modules and upload them one after the other. Install the modules.
- In PrestaShop, navigate to "Modules > Modules and Services > Installed Modules". Here you can now configure wallee module - enter the wallee User ID, Space ID and Application Key. You can find this information in your previously created wallee account via the Setup Assistant
- You can now configure the payment methods and start accepting payments. Details of these steps can be found in the Documentation
Demo Shop & Tutorial
Visit the Prestashop demo shop with wallee to see the features from the customer's point of view. The practical tutorial video guides you step-by-step through the simple setup.